

While making your epicurean travels through the metropolitan hubs and back roads of Japan, you are likely to find yourself with a pair of bamboo chopsticks in hand. Whether dining in upscale eateries or hole-in-the-wall ramen shops, we invite you to add a bit of charm when dining out with chopstick rest origami. Keep reading below to learn how to make a miniature Mount Fuji or try your hand at a whimsical origami boat or a graceful swan.
How to Make an Origami Chopstick Rest Mount Fuji
Note: If the chopstick wrapper has color printed only on one side, begin folding with the white side facing you.Step 1
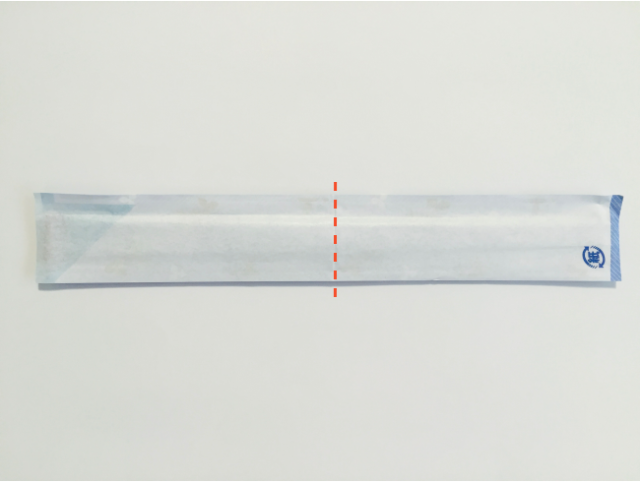 Fold the chopstick rest in half lengthwise. Unfold.
Step 2
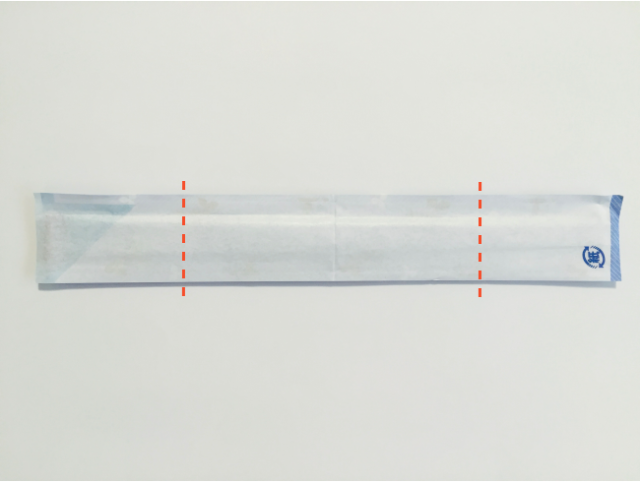 Using the crease from Step 1 as a reference, fold in the left and right side so that they meet in the center.
Step 3
 Fold the left side over using the crease from Step 1.
Step 4
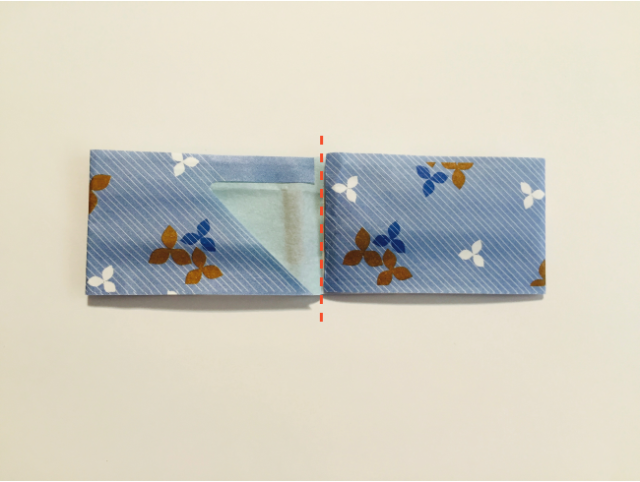
 Fold down in half.
Step 5
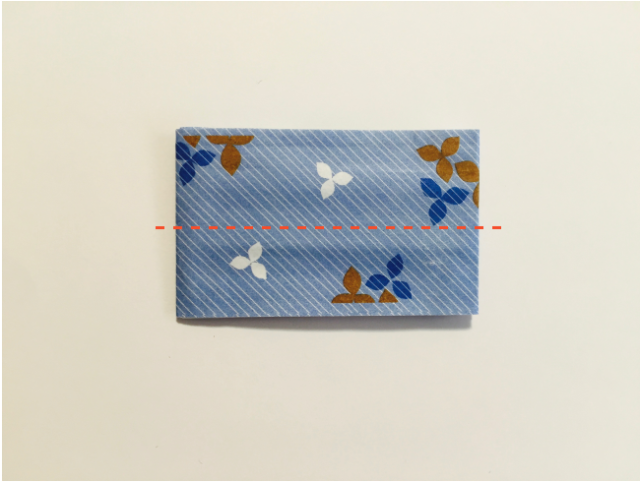
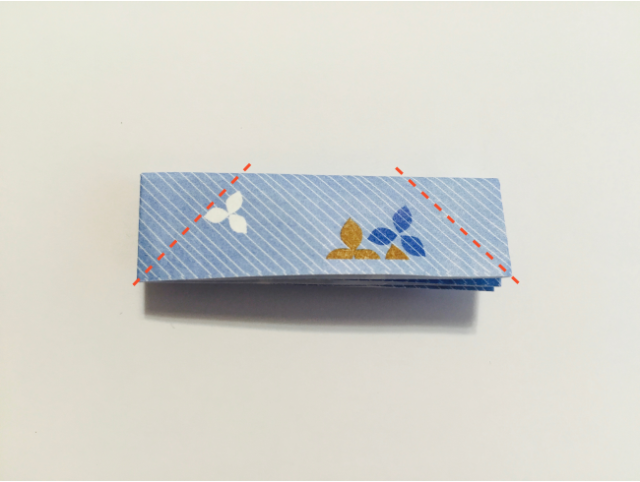 Fold the top left and right corners down so that the side edges line up with the bottom edge. Unfold.
Step 6
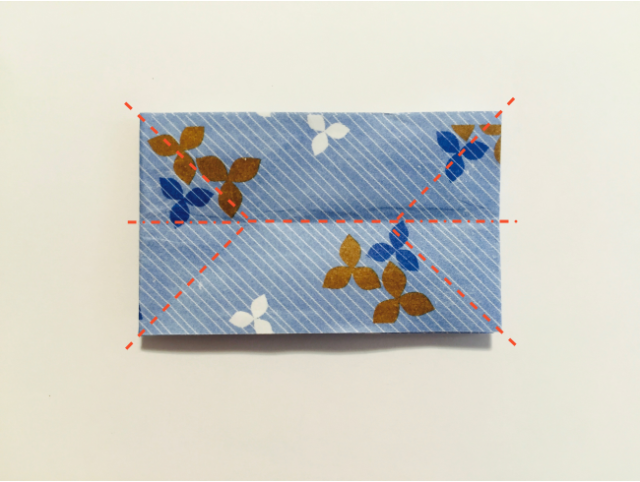 Using the creases from Steps 4 and 5, collapse the chopstick rest.
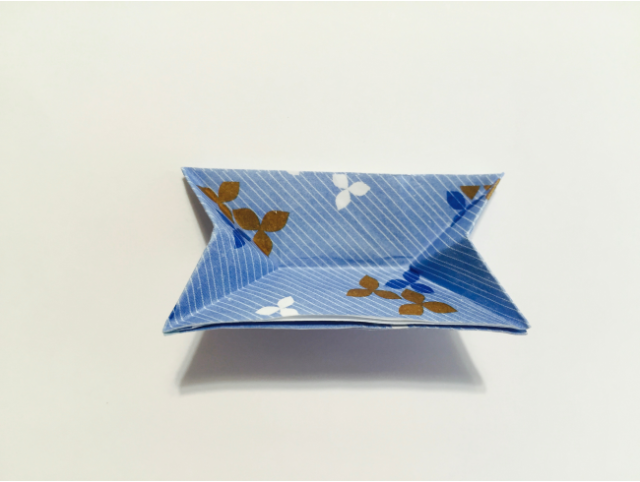 Step 6 in process.
Step 7
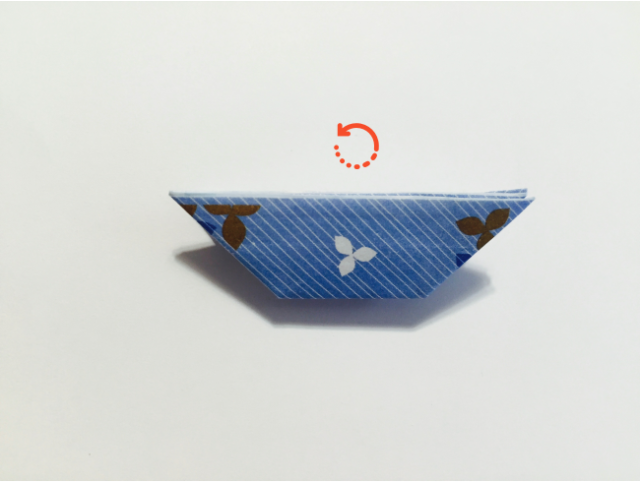 Rotate so that the long side is on the bottom.
Step 8
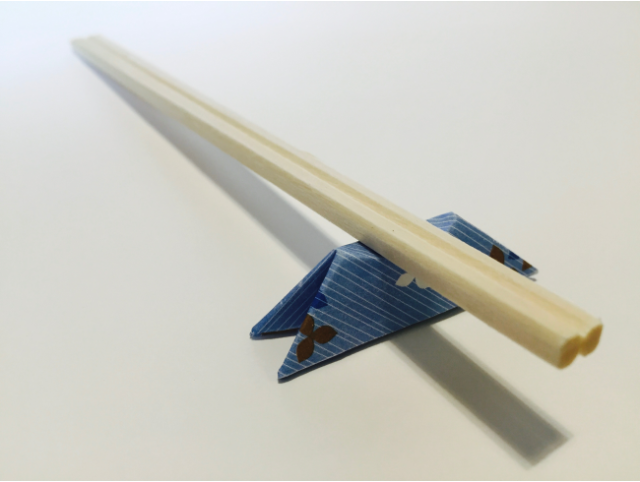
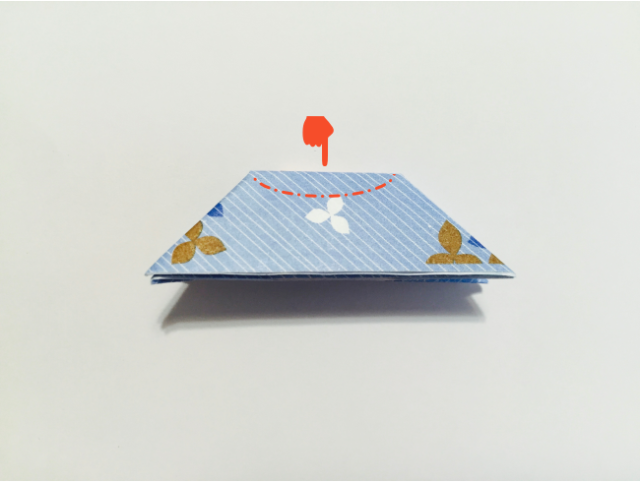 Gently push down the top center so that the chopstick rest becomes three-dimensional. This step also prevents your chopsticks from sliding off the top when using the rest.
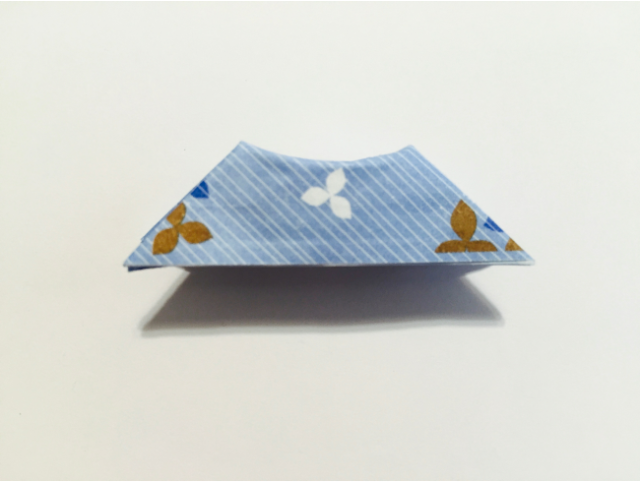 Step 8 completed (side view).
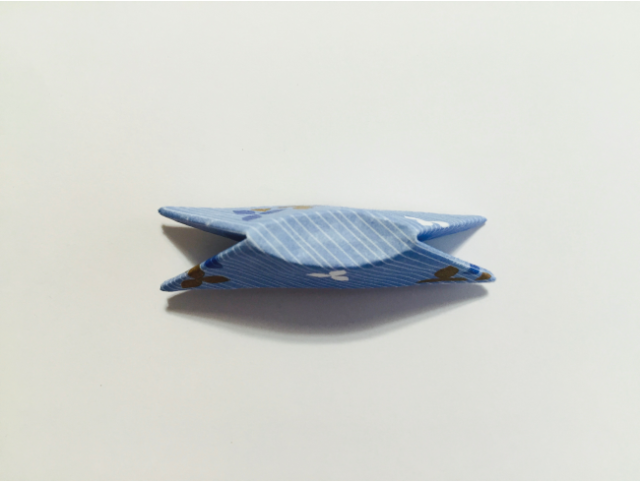 Step 8 completed (top view).
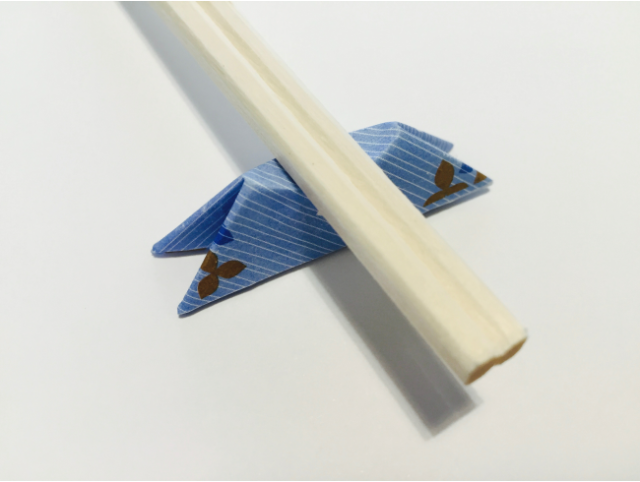
Your Chopstick Rest Origami Mount Fuji is Complete
Disclaimer: All information is accurate at time of publication.
Discover more restaurants by area
Tokyo Area Near Tokyo Kyoto and Osaka Area Hokkaido Area Northern Honshu (Tohoku) Central Honshu (Chubu) Western Honshu (Chugoku) Shikoku Kyushu Okinawa and Southeast Islands
Update-date: Aug 06 2019
Categories:
Culture